I thought I'd take a shot at writing a FAQ / How-To guide for using electrolysis to remove rust. Comments, corrections, additions are of course more than welcome. This is how I do it, but I'm sure it could be approved upon.
Electrolysis is a process that uses a low voltage DC current to remove rust from any ferrous metal item. The process affects only the rust and does no harm to any un-rusted underlying metals. It's one of the safest and gentlest processes for rust removal, which is why it is about the only method used by museums for preservation and restoration of iron and steel artifacts.
Electrolysis is simple to setup and quite safe as long as you follow a few common sense guidelines. A complete electrolysis setup can be made for $25-30, but you probably already have almost everything you need in your garage, shop and basement.
Your not going to get electrocuted, blow up, get poisoned, or ruin great, great, great grandmothers skillet. There are a few things to keep in mind before you get started. You will be using a battery charger or other low voltage DC power supply that plugs into 110V AC house current. You'll also have a big bucket or tank of water nearby, so use your head and make sure that you locate your charger someplace that it's not going to fall into your tank. Also take care to keep cords and plugs in a safe place. Use a GFCI protected outlet. Just use common sense about the matter at hand and you will be fine. And as for grandpa's tools, they will be unharmed as well. As long as you always hook up the negative side of your circuit to your tool, it will be unharmed. Only iron oxide is removed and neither the electric current nor the sodium carbonate solution will affect the good metal underneath, even if you leave it in there for a month. Care should be taken with nonferrous metals and other nonmetallic parts to avoid having them in the solution. Wood is usually ruined. The sodium carbonate solution turns most wood black, so handles etc should be removed if possible. If your part is painted or plated, paint or plating that's intact and securely attached won't be harmed. Loose paint will usually come off in big sheets. Cast iron pieces like machinery parts usually end up stripped of their paint.
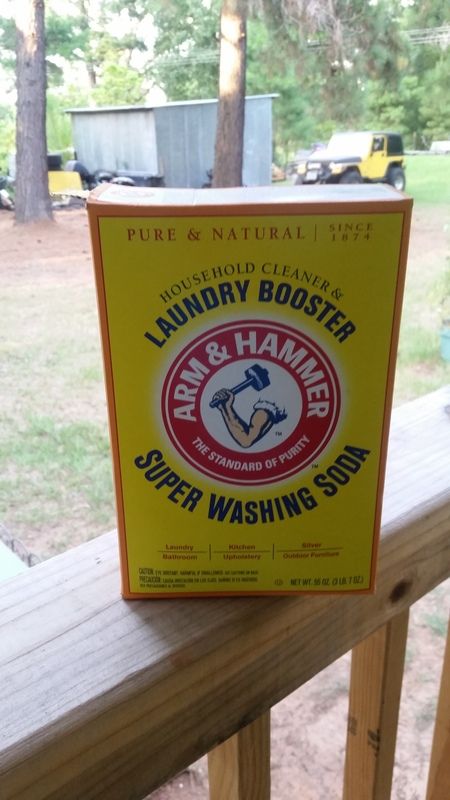
The electrolyte itself is simply water and some Sodium Carbonate. The easiest place to get this is to buy a box of Arm and Hammer Super Washing Soda. You can find this with the laundry detergents/additives in most grocery stores. It's cheap, and a box will last you quite a while. Washing Soda is NOT the same as Baking Soda. Baking Soda is sodium bicarbonate. Baking soda doesn't work well as an electrolyte. Another spot you may score some is at the pool chemical store/section at most stores. Its a water softener. It's sometimes called soda ash.
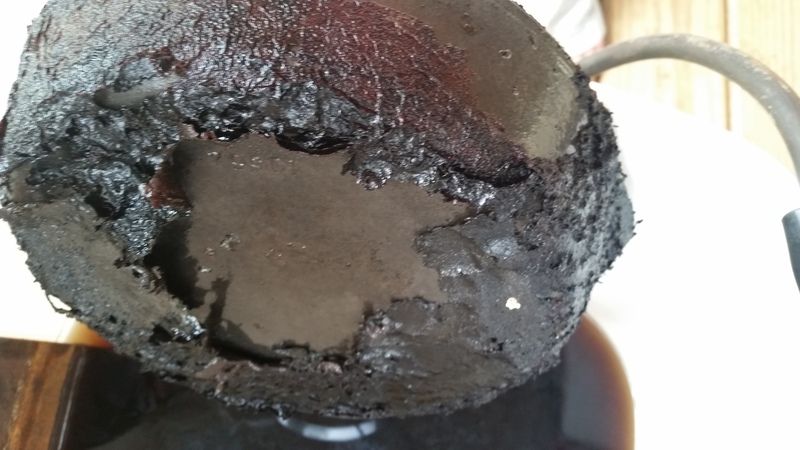
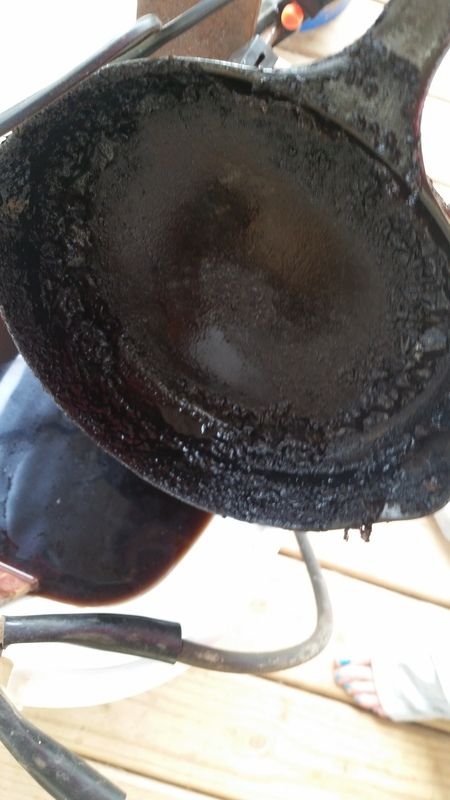
Here is my most recent yard sale find for $2. This is what I will be cleaning today.
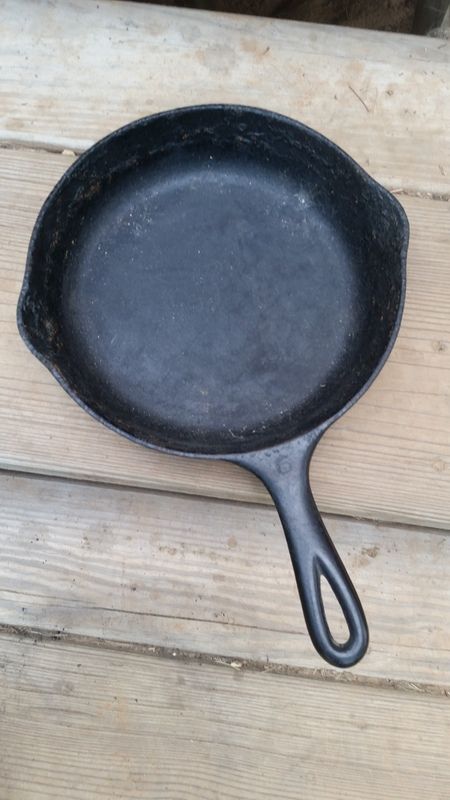
YUCK!!!

So to start you will need:
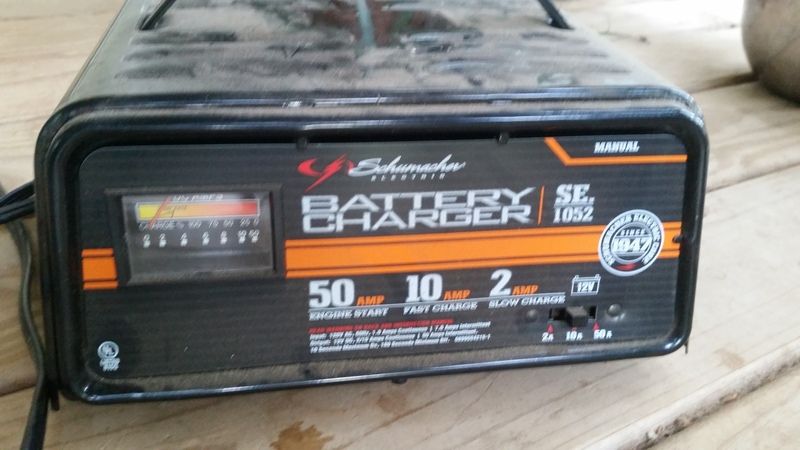
- A low voltage DC power supply. A battery charger works great for this; you probably already own one. Older or cheap ones sometimes work better than newer fancier units since some of them have intelligent charging functions and they won't provide current if they think your battery isn't charging. If you find that you're putting out close to 0 amps, you might have this problem. You want a manual one, not automatic.
- Sodium Carbonate
- Sacrificial Anodes. (What the heck are those?) Sacrificial anodes can be just about any piece of iron or steel that you don't mind seeing ruined and/or consumed. An ideal anode is the same general shape as the item that you're de-rusting. A couple pieces of re-bar trampoline springs, flashing, or scrap metal could be used. Go ahead and look in the corners of your garage for some metal. How many you use is up to and the size piece you are cleaning. I typically use two. I have seen systems set up with eight before. Its up to you, make it to fit your needs.
IMPORTANT HEALTH SAFETY NOTE: You should never, never, never ever use stainless steel for your anodes. Stainless steel contains chromium and it will cause hexavalent chromium (chromium VI) to precipitate out into your electrolyte. Hexavalent chromium is a nasty carcinogen.
Think Erin Brockovich.
- A plastic bucket, tank or other nonmetallic container. You can use just about anything that's large enough to contain your item (plus a little room for your anodes). Anything from a 1 gallon plastic bucket up to a wading pool or a big hole in the ground with a plastic liner will work. You also have to take care to avoid letting your tool etc touch the sides. I like using a 5 gallon Spackle bucket for smaller stuff and a larger RubberMaid tub for larger things.
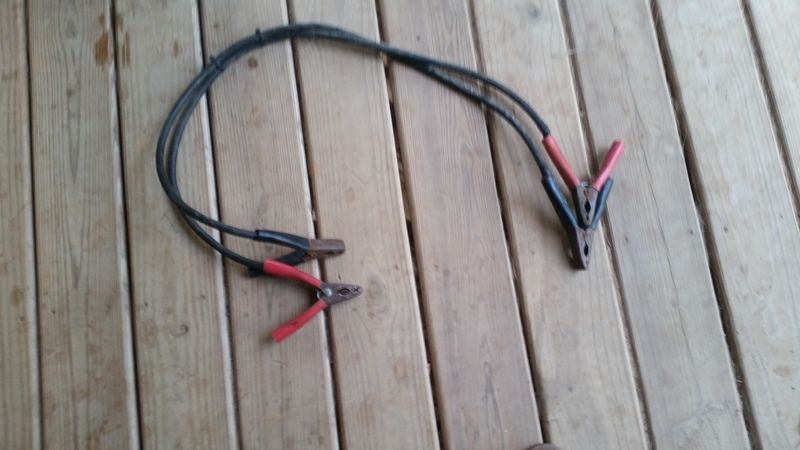
- Some wire to hook everything up. I use a short pair of jumper cables. I don't leave mine setup all the time, so its easy to use these. If I was going to leave it up I would use wire and butt connectors.
- Non metal clamps
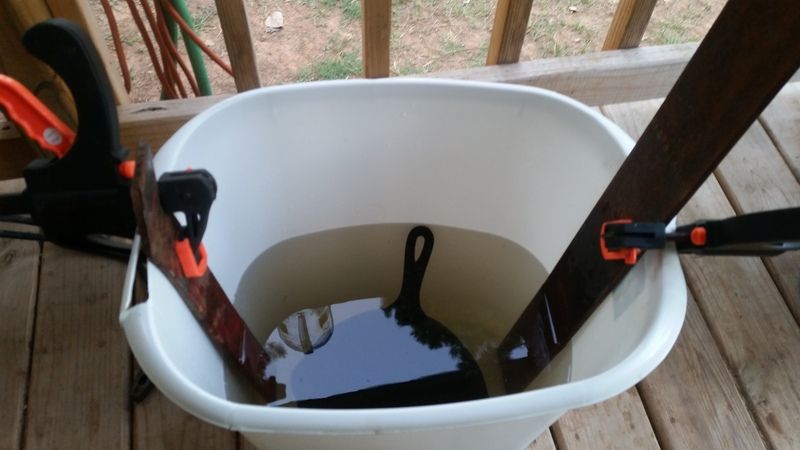
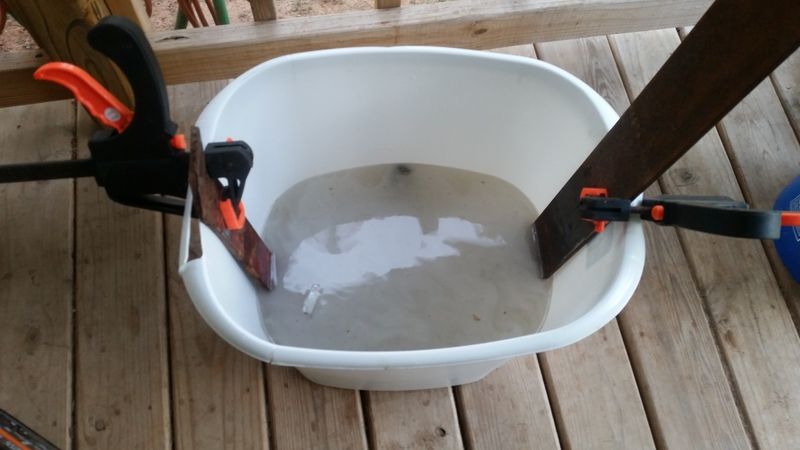
Now, fill your bucket or tub about halfway full of water. Make sure you leave room for whatever you're cleaning so it doesn't overflow when you submerge it.
Now it's time to hook everything up. Clamp your sacrificial metal to either side of the bucket. Place your piece in the bucket and add to cover with water.
Now that you know everything is going fit within the vessel you have chosen, take out the treasure and add the washing soda. Stir to dissolve. I use about 2-3 tablespoons of the washing soda per gallon of water. The ratio isn't critical. Too little will make your reaction run a little more slowly. Too much won't dissolve and will settle at the bottom of your tank. Starting with some warm water if it's handy will speed up dissolving your washing soda, but if all you have is cold, just stir it for a few minutes to dissolve it. Replace the piece making sure its not touching the two side pieces of metal. Hook up the two sacrificial metal pieces together with the jumper cables.
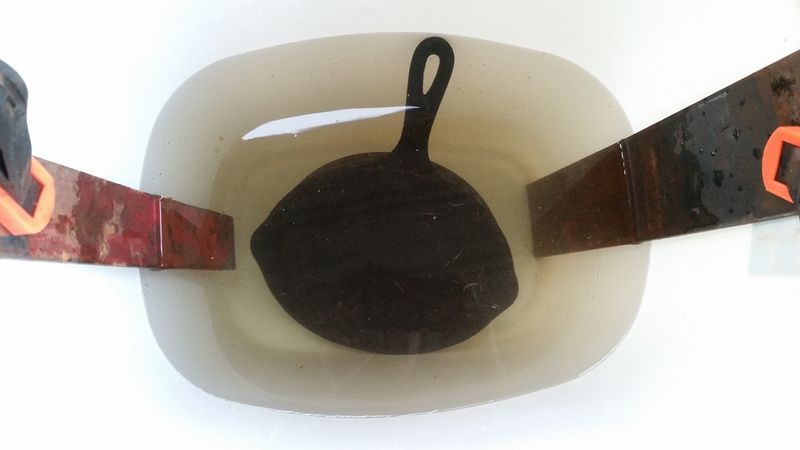
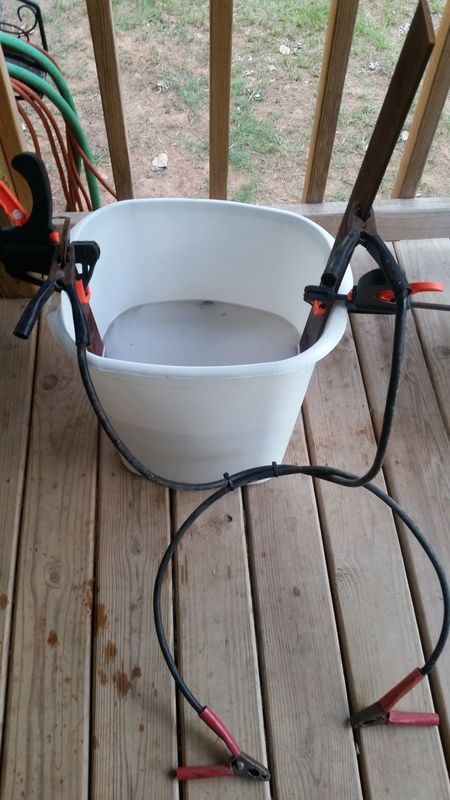
Good contact between your hookup wire and your part is essential, so you'll want to spot clean that area. Double check and make sure that your part and the anodes aren't touching each other anywhere and creating a short circuit. Some wood bars across the tank with some wires to hang everything onto can be useful to keep everything in place.
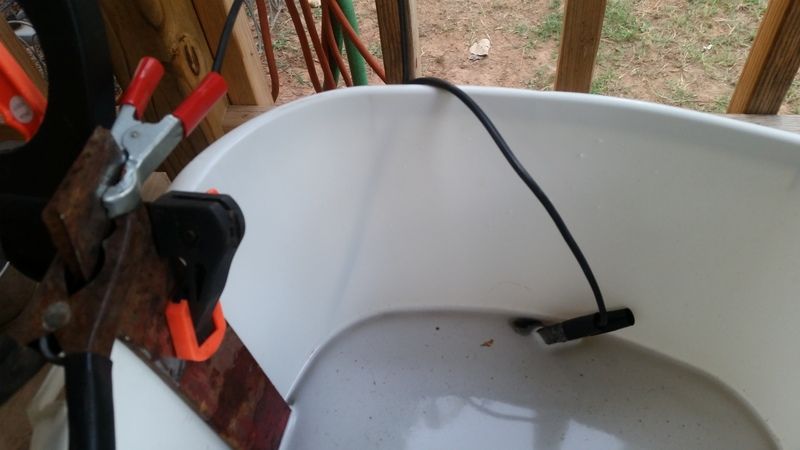
Next up, you need to connect your
unplugged power supply to your part and to the anodes. IT IS CRITICALLY IMPORTANT to hook the negative terminal to your part and the positive terminal to your sacrificial anode.
Let me repeat that... IT IS CRITICALLY IMPORTANT to hook the negative terminal to your part and the positive terminal to your sacrificial anode.
If you screw this part up, you'll convert the remaining sound metal on your part into some brand new rust. Leave it that way for a few days and your part will be reduced to a pile of iron oxide.
Negative (minus) = less rust. Positive (plus) = more rust is how I remember it.
Once have that, you are now ready to plug it in. Set it on 10amp. Within a minute or so, you'll see some bubbles coming up off your part. That's the sign that the reaction is working. That gas is hydrogen, so it's a good idea to do this in a well ventilated area away from open flame. (Remember the Hindenburg!). Realistically, the amount of hydrogen produced is pretty small, so doing this inside your garage is just fine. Now just wait.....
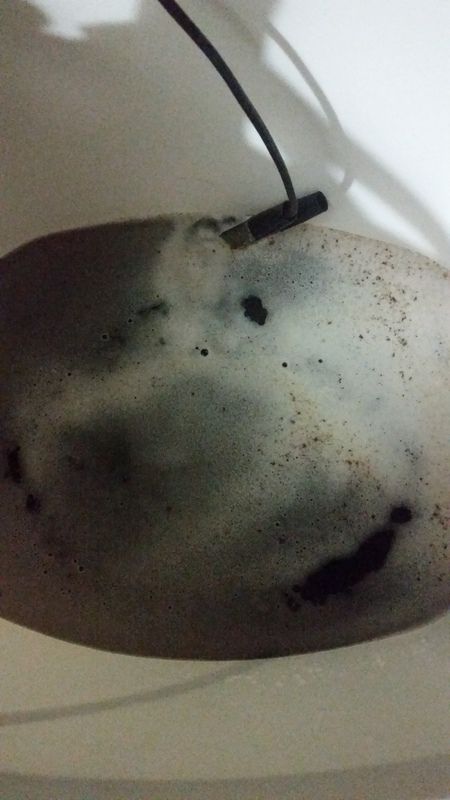
So, how long does all this take? That depends on a number of factors... how large and rusty is grandfather's vise? How much juice is your power supply putting out? How many anodes did you use and are they fairly close to your part? I like to check the progress after 4-5 hours. It's a good opportunity to check your anodes and clean them off with a wire brush if they're starting to crust up. You might also want to skim the sludge from your electrolyte once in a while.. it gets pretty nasty. Eventually, the bubbles will slow down as the last of the rust is consumed and it's time to remove your part from the tank.
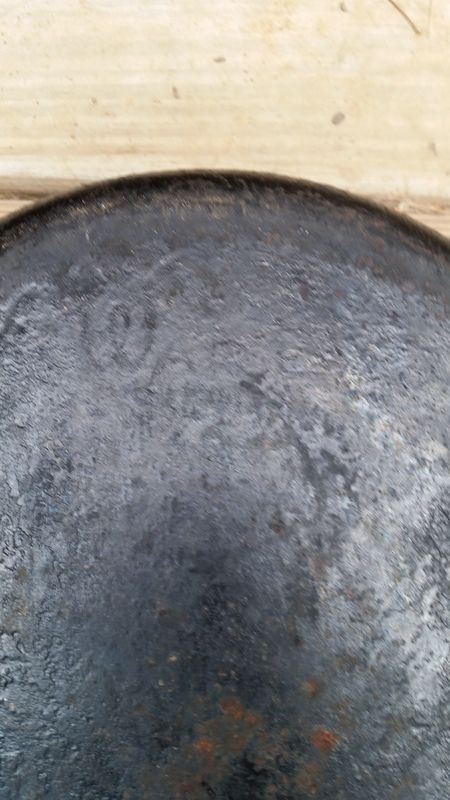
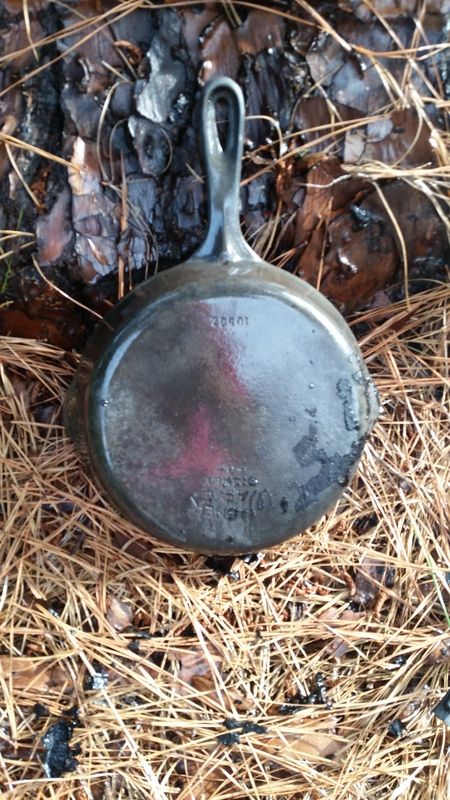
This is after 3.5 hours.
To take it out of the tank, unplug first.
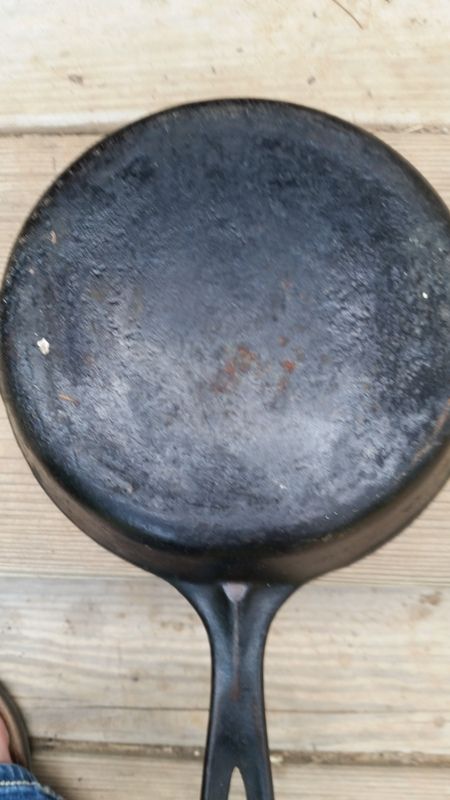
Here I only spayed with the water hose... no scrubbing
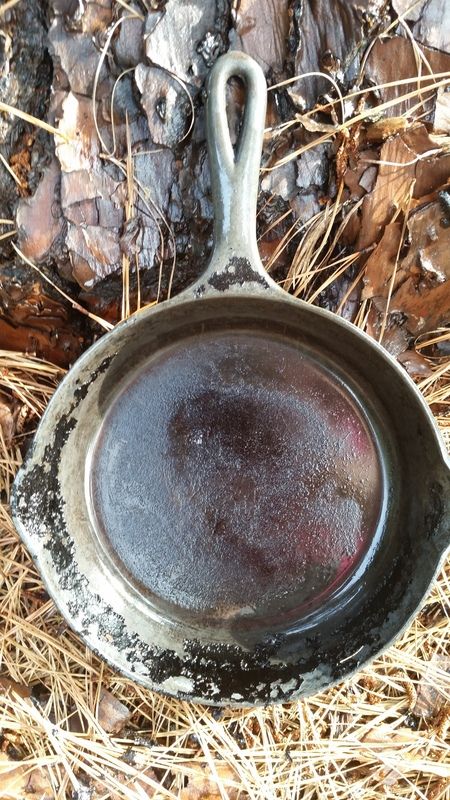
So after investigating what was sticking I determined it needed a bit more... so that's where we are at. But I'm sure you can see the result will be flawless. Once done it will be squeaky clean and lacks any kind of oxide or other protection. Unless you live in Arizona, chances are that you're going to see some flash rust appear on your item as it's drying. This usually wipes right off. You'll want to protect the surface quickly to prevent rust from getting a hold again. Now is a good time to apply primer, wax, oil or whatever your final finish is going to be.
If you skim the sludge off of your tank, you can keep using the electrolyte until it's just too disgusting. It doesn't go bad or degrade. If some of it evaporates, you can just add more water. Keep it covered to keep out bugs, rodents and small children. When you're ready to dispose of it, you can pour it down the drain (it's not toxic). I dump mine out behind my garage. It's actually pretty good for alkaline loving plants, so you can just toss it on the lawn if you really want. If you don't expect to do any more parts soon, take the leftover washing soda into your laundry room. It's a great grease remover added to your laundry and is perfect for washing those pants you're wearing.
Remember:
- Always hook your precious item to the negative lead of your power supply.
- No stainless steel anodes.
- Be prepared to paint, oil, etc right away to avoid re-rusting.
- Electricity and water don't mix (actually, they mix great.. electricity, water and humans don't mix). Be safe with your power supply. Any questions let me know, and if you have any suggestions pls share.


